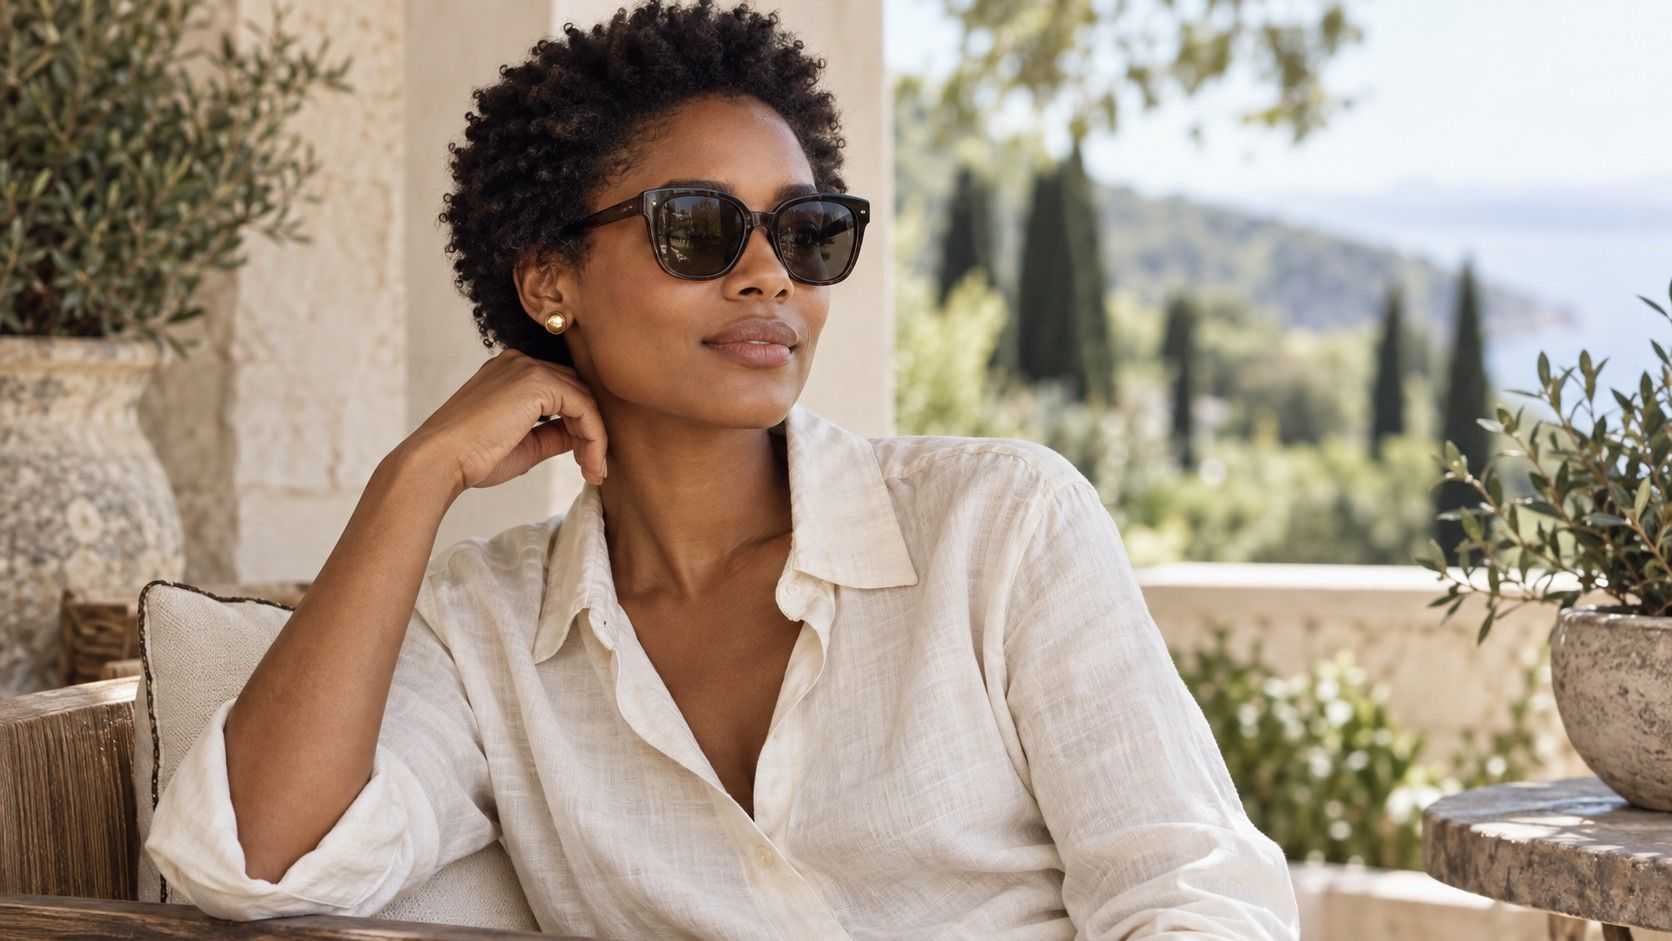
The sunglasses that look good on a display can sit quite differently once you smile, look down or step outside. An oval face shape gives you a useful starting description, but bridge fit, frame width and coverage decide whether a pair works through an ordinary day. I would check those before choosing between aviators and square frames. You can enjoy a bold outline or a quiet one; the aim is a pair you like wearing, with protection you can verify rather than guess from the lens colour.
Separate protection from appearance before making a shortlist
Lens darkness, frame shape and polarization do not by themselves confirm ultraviolet protection. A dark lens can look reassuring without supplying the information you need. Check the manufacturer's protection statement for the exact model, and ask a reputable optical retailer to explain any unclear claim. If the seller supplies only fashion photographs and vague language, you have not yet verified that part of the purchase.
Polarization concerns glare and is a separate feature from verified UV protection. Some people value it around reflected light, while others notice that certain screens look different through polarized lenses. Neither experience tells you whether the frame suits an oval outline. Keep the protection question, the viewing experience and the appearance question separate so that a pleasing look does not answer all three by accident.
Decide where you expect to wear the pair. A city walk, a long drive and a windy coastal path place different demands on coverage, stability and lens choice. Explain the activity to an optical professional if you need help choosing lenses or use a prescription. The phrase “best sunglasses oval face” can generate a long style list, but it cannot establish what is appropriate for your particular use.
Find a stable bridge and temple fit
Put the glasses on without squeezing them into place and let them settle. Look straight ahead, then down as if checking a bag. The bridge should support the frame comfortably, and the temples should not need to grip hard to stop it moving. Repeatedly pushing a pair back up your nose during a short try-on is useful evidence, even if the mirror view is appealing.
Check both sides. One temple may touch differently because the frame needs adjustment or because your ears sit differently. Ask an optician whether the construction allows a useful adjustment rather than bending the frame yourself. A small adjustable pad is a different proposition from a fixed moulded bridge; similar-looking fronts can fit quite differently.
Do not use the width of an oval face as a substitute for a fitting. Lens width, bridge shape and temple length work together. The printed measurements can help compare pairs you already know, but they do not describe every curve that touches your face. Try the actual frame where possible and judge whether it stays in place without pinching the nose or sides of the head.
Compare aviators and square frames with similar scale
Aviator-style lenses often add a curved lower line and a more open-looking upper frame. Square and rectangular designs introduce straighter edges, although their corners can be soft rather than sharp. On an oval face, either can be a deliberate choice. Curves may echo the existing outline; angular rims may create a contrast you enjoy. There is no obligation to pick the opposite shape.
To make a fair comparison, choose two pairs with roughly similar overall size and a comparable lens tint. Otherwise you may be reacting to a much larger lens or a darker colour instead of the outline. Look first at eye level, then slightly from the side. Pay attention to where the top rim sits in relation to the brows and where the lower lens ends beside the cheek.
A double bridge, thick brow line or pale translucent rim can change the impression as much as lens shape. If aviators feel too visually busy, the metalwork may be the reason. If a square frame feels heavy, try a thinner version before rejecting the whole category. Describe the detail that bothers you so the next comparison becomes more precise.
Choose size without crowding the cheeks
Smile normally and speak while wearing the frame. The lower rim should not be continually pushed upward by your cheeks. A large lens can offer a look you love, but the front still needs room to sit comfortably. Check the same thing when looking down: a frame that feels fine with a neutral expression can move once the face is active.
Look at the outer edges from the front. A frame extending beyond the apparent facial outline may be a deliberate oversized choice; one that sits closer can look more restrained. Neither appearance proves the fit. If the temples spread outward under pressure or the bridge is doing little supporting, investigate that mechanical issue before deciding the pair is simply oversized.
Use your normal hairstyle during the final comparison. Hair beside the temples can partly hide a wide frame, while tied-back hair exposes its full span. Wear the pair with both if you regularly switch between them. A photograph cropped to the face may exaggerate the role of the sunglasses, so also look in a larger mirror that includes your shoulders and clothes.
Check wrap and side coverage for the day you have planned
Front lens size does not tell the whole coverage story. Notice the gap between the frame and the sides of your face, and compare how much the lenses curve around. A flatter fashion frame and a more wrapped design may feel very different on a bright, breezy walk. Coverage is a practical feature to inspect alongside the silhouette.
Try the glasses with the hat or cap you actually use. A curved brim can touch a tall frame, and thick temples may compete for space under a cap. If you often wear headphones, check that combination too. The pressure you notice during a quick try-on is unlikely to become more welcome over a long afternoon.
If you need prescription lenses, ask about the exact frame and lens combination before buying. A strongly curved front can involve considerations that a fashion description does not address. Similarly, if the pair is intended for a particular activity, ask whether it is suitable for that task. Everyday sunglasses should not be assumed to provide protection intended for specialized equipment.
Try the shortlist in daylight and through ordinary movements
Shop lighting can make a tint seem different from the view outside. Where the retailer allows it, look through the shortlist toward ordinary outdoor surroundings without looking directly at the sun. Notice brightness, colour and how easily you read details. Comfort through a lens is worth checking independently of how the front looks in a mirror.
Check the screens you regularly use, especially if considering polarized lenses. Turn your head and change the angle while looking at a phone or a vehicle display when safely stationary. You are checking visibility, not performing a protection test. An enjoyable view in one position can become inconvenient when the screen angle changes.
Keep the final comparison short and concrete: stable bridge, comfortable temples, no persistent cheek contact, suitable coverage and an outline you enjoy. Ask for model details and the return or adjustment arrangements before paying. A pair chosen from a sunglasses oval face search still needs all those ordinary checks.
If two pairs pass and feel equally good, choose the one that belongs with your daily clothes and habits. You might prefer the strong line of a square rim or the softer lower curve of an aviator. The oval label has helped you compare appearances; the fitting and product information have done the rest of the work.