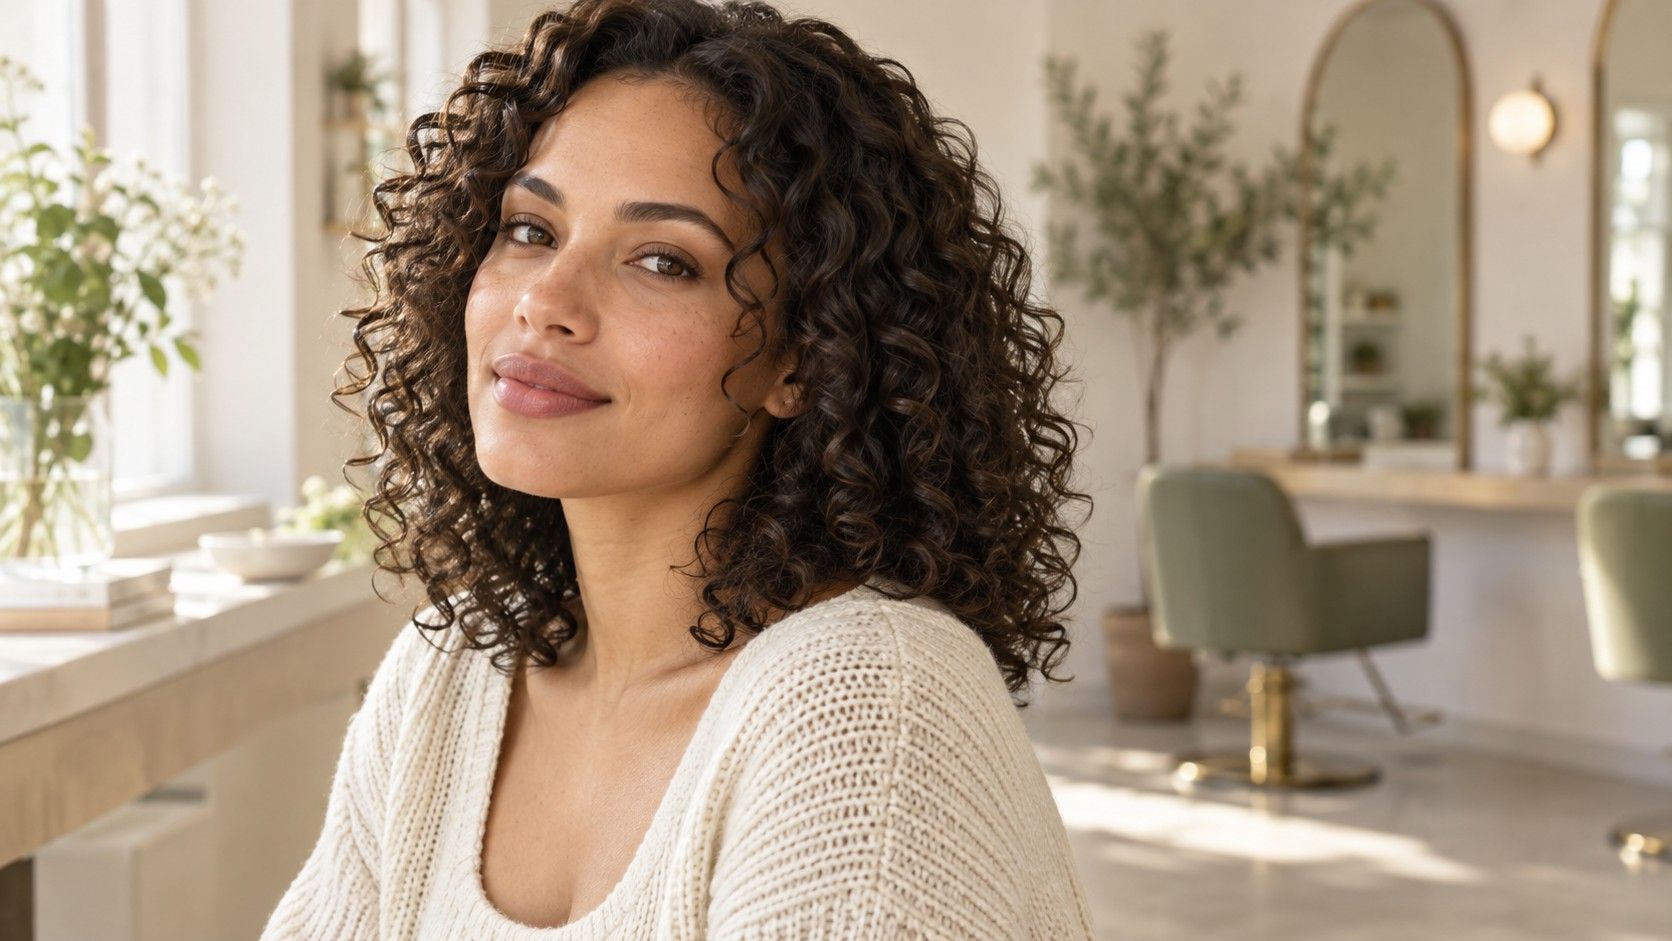
A curl can sit at your cheek in one state and finish well above it in another. That makes dry shape, shrinkage and daily handling useful starting points when choosing curly haircuts for an oval face. Decide where you want the silhouette to sit, then use your texture and routine to work out a cut you can actually wear.
Look at the dry curl silhouette
The shape of dry curls matters more to a haircut decision than their length when pulled straight. Start with hair worn as it usually is: your ordinary part, familiar products and the amount of drying time you normally allow. Look at the outline near the temples, beside the cheeks and below the jaw. Those areas tell you where the hair adds width and where it leaves the face exposed.
A photograph taken just after a salon finish may show a silhouette you will rarely recreate. Bring a front view and a side view from an ordinary day instead. Include the back if its shape is part of your concern. Curls can cluster differently around the head, so the front may look full while the crown lies flatter. An oval face description cannot predict that distribution.
Choose what you like about the current outline before listing what you want removed. Perhaps the cheek-level width feels right but the ends spread across the shoulders, or the length is comfortable while the front hides your glasses. These observations give a stylist a clearer starting point than asking for whichever curly haircut is supposed to suit an oval face.
Discuss shrinkage before choosing length
Wet curls can hang below the point where they settle once dry. The difference varies across the head and with the way the hair is styled; there is no useful universal allowance to subtract. Show the stylist where you want the dry ends to finish. If you mean the chin, collar or shoulder, point to that location with your head upright rather than tugging a curl down to reach it.
Ask how the proposed cut will account for your particular curl behavior. A section near the forehead may spring up differently from a section at the nape. Shortening one part can also change the way it sits among neighboring curls. Whether the appointment involves wet cutting, dry cutting or a combination, the important conversation is about the finished shape you expect to wear.
If you are uncertain about a major length change, agree on a cautious first stage and check the dry result before shortening further. This is especially helpful around the face, where a small section may land above the position you intended. Be clear about your nonnegotiable boundary, such as keeping enough length to tie back the front or avoiding ends that sit directly against the glasses arms.
Place volume at the sides or crown
Volume beside the face and volume above it create different silhouettes. More fullness near the cheeks may make the hairstyle look wider; height at the crown may emphasize its vertical line. Neither effect needs correcting simply because your face is oval. Decide whether you want a rounded shape, a longer outline or a deliberate contrast between the two.
Try a loose, reversible comparison before the appointment. Pin a little hair away from the sides, then release it and gently lift the crown instead. Avoid stretching the curls into a shape that only pins can hold. The exercise is about where you like the outline, not a promise that a particular cut will reproduce it. Take a quick picture of the version you prefer.
Parting belongs in this discussion too. A side part can put more visible volume on one side, while a central part may create a more even frame. Your natural part and the way the roots dry may resist either arrangement. Tell the stylist whether you change the part regularly or want the cut to fall into place without resetting it after every wash.
Choose a fringe by curl behavior
A curly fringe should be planned in its resting state. Look at which front curls stay together, which separate and where they land when dry. A photograph of a smooth straight fringe does little to explain the result on a springier texture. Bring a reference with a similar curl size where possible, then discuss what will differ on your own hair.
Check the practical contact points: eyebrows, lenses and the bridge of your glasses. A curl that looks pleasant in a still photograph may sit in your line of sight when you walk or look down. Decide whether you are happy to move or refresh those pieces during the day. Leaving some room to adjust length is easier than discovering that the shortest section feels too short.
You can also choose a broken, side-swept or longer face-framing front instead of a dense fringe. These options reveal different amounts of forehead and require different handling. Ask how the front will blend when tucked back or tied up. Its usefulness depends on the ways you wear your hair throughout the week, not on whether a chart recommends bangs for oval faces.
Balance layers with density
Layers can redistribute weight, but the word alone says little about the final cut. Ask where the shortest layers will sit and where the fullest part of the outline is meant to appear. With dense hair, removing bulk in one area may help reveal a shape; with sparse-looking ends, a different approach may be needed to keep the perimeter looking as full as you want.
Show any section that behaves differently before the cut begins. Perhaps the front looks looser, the back forms tighter groups or one side lies flatter after sleep. The stylist can examine the hair directly rather than assuming one curl pattern applies everywhere. Avoid asking for heavy thinning merely because the hair feels large: discuss the desired outline and let the proposed technique follow that goal.
Compare the tradeoffs in concrete terms. Short layers around the crown may support a fuller upper outline, but they may also be harder to gather into a ponytail. A longer perimeter can preserve tying-back options while leaving a different distribution of weight. No single layering plan belongs to every oval face; density, curl behavior and the styles you need are central to the choice.
Check the cut between wash days
A cut has to work after the first drying session. Take note of what happens after sleeping, wearing a hood or tying your hair back. The crown may flatten while the sides expand, or a front curl may point in a different direction. Bring these patterns into the consultation so the finished shape is discussed in conditions you actually encounter.
Ask for a demonstration using the amount of effort you intend to spend at home. If you normally air-dry, say so before a reference look is recreated with a lengthy drying routine. If you use a diffuser, discuss how much of the finished silhouette comes from that step. Product and handling choices affect the result, and a cut cannot guarantee the same outline under every routine.
Keep a few notes after your next wash: where the dry ends sit, which areas need adjustment and whether the front stays comfortable. One clear observation is enough for a follow-up conversation. Curly hair for an oval face becomes easier to plan when the goal is specific—retain cheek-level fullness, soften a heavy perimeter or keep the fringe out of the eyes—rather than obeying a face-shape rule.
For a clearer comparison, keep the haircut assessment separate from experimenting with a new routine. Changing length, parting and several styling steps at once makes it hard to explain which change produced the shape you like. Show the stylist your familiar result first, then discuss one or two adjustments that might support the proposed cut.