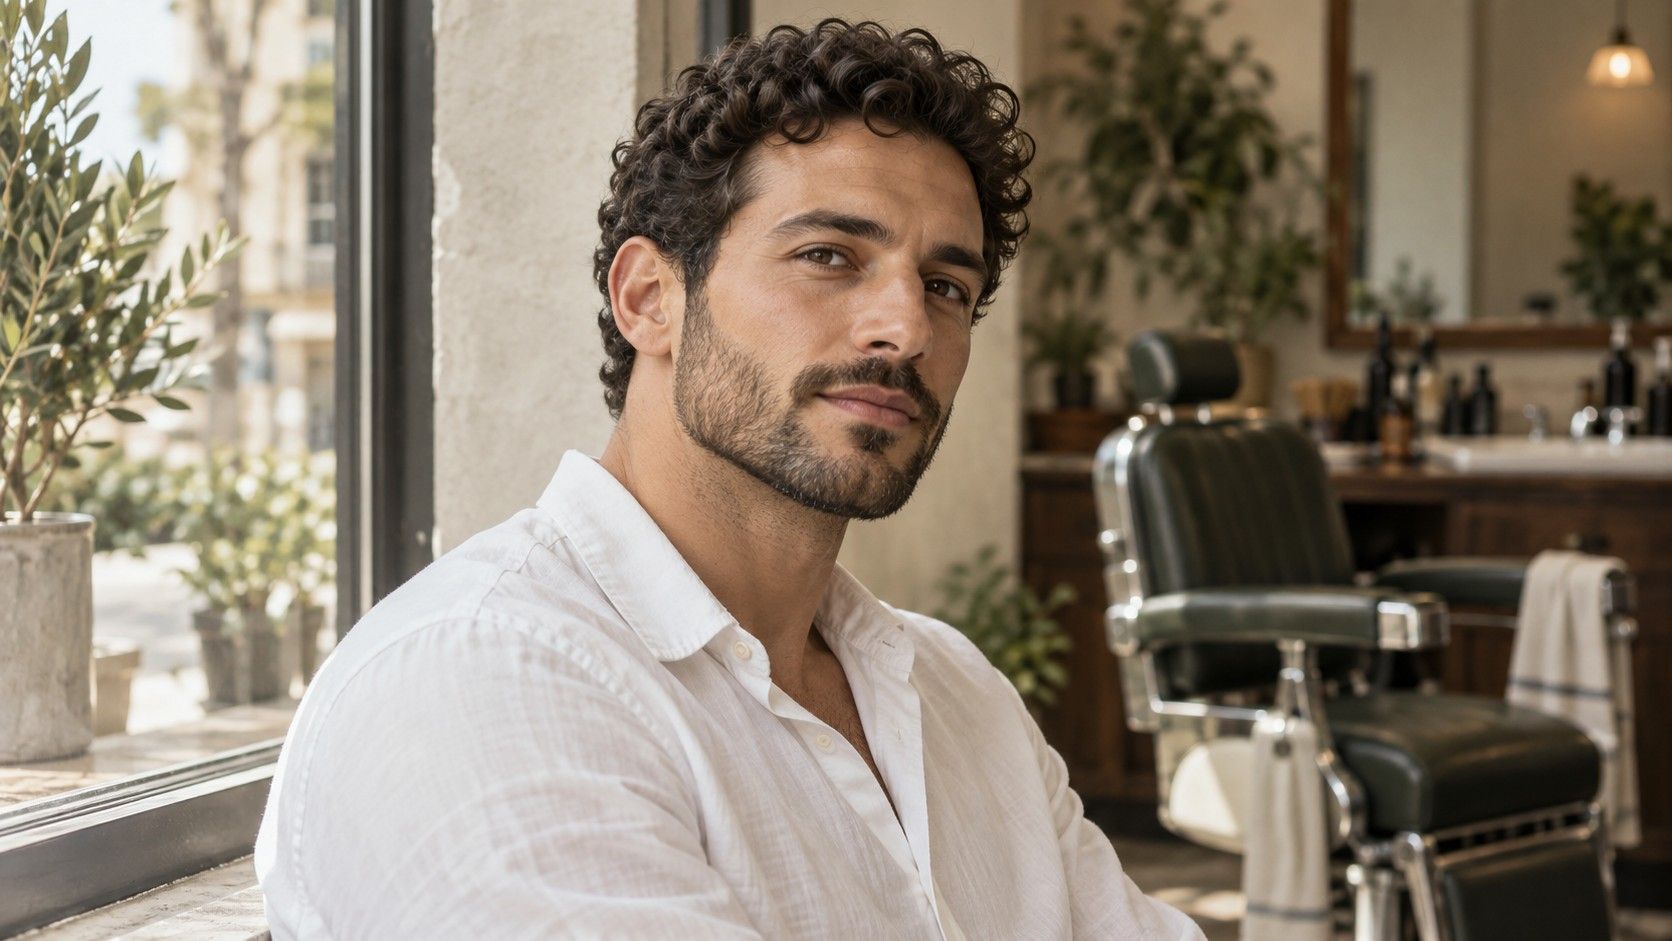
A long face can have a soft oval curve, relatively straight sides, or a mixture of both. That makes the oval versus oblong question less tidy than a chart suggests. Use the comparison to describe what you see and decide how you want hair or accessories to frame it, without treating either label as a rule for your appearance.
Start with the whole outline
An oval outline usually reads as a continuous curve: the upper face broadens toward the cheeks, then narrows toward a rounded chin. An oblong description puts more emphasis on a long, comparatively narrow impression. These are everyday styling terms, and people use their boundaries differently. A long oval face shape can sit comfortably between them. The useful question is whether length matters to the particular haircut or frame you are choosing.
Look at the outline with your hair held away from your temples and jaw. Keep your expression relaxed and your head level. Follow both sides from the forehead to the chin, then look at the face as a whole. A photograph cropped tightly at the forehead may make the lower face seem longer; a fringe can make the visible face appear shorter. Compare the same full outline before deciding that two pictures show different shapes.
I would give the outline more weight than a single number. Two faces can have similar overall dimensions yet look different because one has fuller cheeks and the other has straighter sides. Write down a plain observation such as “long outline, softly tapering jaw.” That description can survive a disagreement about whether the label should be oval or oblong.
Compare side contours
Pay attention to the stretch between your cheekbones and the corners of your jaw. On a softly oval outline, this area often narrows gradually. A face described as oblong may retain more of its width through the lower sides, creating a longer, straighter impression. Neither observation needs to be exact on both sides. Small differences in jaw position, lighting and expression can interrupt the curve.
A dark shadow under one cheek can look like a dramatic inward taper. Turn toward even daylight and check whether that apparent boundary is still there. Hair lying over the sides of the face can also create a false contour. Move it behind your ears for the reference picture, then release it afterward to see the outline you actually wear through the day.
When comparing oval vs oblong face examples, avoid matching yourself to a drawing by one feature alone. A rounded chin appears in many outlines, and a broad forehead does not settle the question. Compare the direction of the sides, the cheek area and the overall length together. If those observations pull in different directions, “elongated oval” is a perfectly serviceable note for a styling discussion.
Keep forehead height in context
A visible high forehead can contribute to a long impression, but the hairline is an uneven boundary. A central dip, receding corners or a rounded hairline changes where someone might start a measurement. Instead of treating the highest visible point as decisive, look at how the forehead relates to the cheeks and the lower face. You are describing an appearance, not passing a test.
Compare a picture with your usual part and one with the hair gently drawn back. The first tells you about your everyday appearance; the second makes the underlying outline easier to see. A deep side part may leave a diagonal sweep over the forehead, while a center part exposes more of its height. That difference can explain why an online selector gives you different results across photographs.
If you like an open forehead, there is no requirement to hide it because your face looks long. If you prefer a shorter visible outline, a fringe is one option to discuss. Consider its upkeep before its visual effect: whether your hair separates at the front, whether you wear glasses and whether you want to style the fringe each morning will matter after the initial appointment.
Check a portrait before classifying
Use a plain front-facing portrait as a reference rather than a close selfie taken from above or below. Put the camera near eye level and leave enough distance to avoid crowding the lens. Keep the same setup for a second photograph. This will not turn a phone into a measuring instrument, but it makes the comparison less dependent on a different angle each time.
Leave out beauty filters and shape adjustments. Choose even lighting, keep the chin in a natural position and include the hairline and chin within the frame. Tilting the chin upward changes how much of the lower jaw you can see; lowering it can shorten the visible forehead-to-chin line. If a picture looks unlike your familiar reflection, do not use it as the deciding example.
The following checks help separate a change in the photograph from a useful observation about the face. Repeat only the uncertain part rather than collecting a large folder of nearly identical selfies.
| Check | What to compare | Why it helps |
|---|---|---|
| Camera position | Level head and camera near eye level | Reduces changes caused by looking up or down |
| Side outline | Hair clear of temples and jaw | Separates the face boundary from the hairstyle |
| Overall impression | Soft taper and apparent length together | Avoids making one feature decide the label |
Choose where hair adds volume
Once you know that length is the feature you want to consider, a haircut discussion becomes more specific. Height concentrated above the forehead can draw the eye upward. Volume around the sides can shift attention toward width. These are possible visual effects, not instructions to make every long face wider. You may enjoy an elongated outline and want the haircut to echo it.
For a practical comparison, pin back the sides while leaving some height at the crown, then reverse the arrangement and loosen the hair near the cheeks. Use your usual part and look from the front and a slight angle. This rough experiment cannot reproduce a cut, especially with curls or very short hair, but it can show where you prefer the fullest silhouette.
Bring that preference to a stylist alongside your hair texture and routine. A layered shape that looks wide in a freshly styled photograph may fall flat between washes. A fringe that interrupts visible length may separate in damp weather. Ask where the shape will sit when the hair dries naturally, and how much work is needed to keep volume in the place you like.
Describe your features without fixed ratios
A useful conclusion can be short: “My face looks longer than it is wide, the sides taper softly and I prefer less height at the crown.” That gives a stylist something to work with. “I am definitely oblong” gives less information if the next person uses the term differently. Keep the label as a convenient heading and let the visible details carry the conversation.
Glasses and accessories benefit from the same approach. Compare how a frame sits across your actual temples and cheeks, then decide whether you like its depth and outline. A taller frame may interrupt a long vertical impression, but bridge fit, eye position and comfort still need their own checks. An oval or oblong label cannot tell you whether a particular pair will slide.
You do not need to settle your classification permanently before trying a new look. Save one dependable portrait, record the features that stay consistent and choose one styling change to test. If the result feels right in ordinary clothes and ordinary light, it has answered the useful question. A borderline face-shape label does not need a more elaborate verdict.