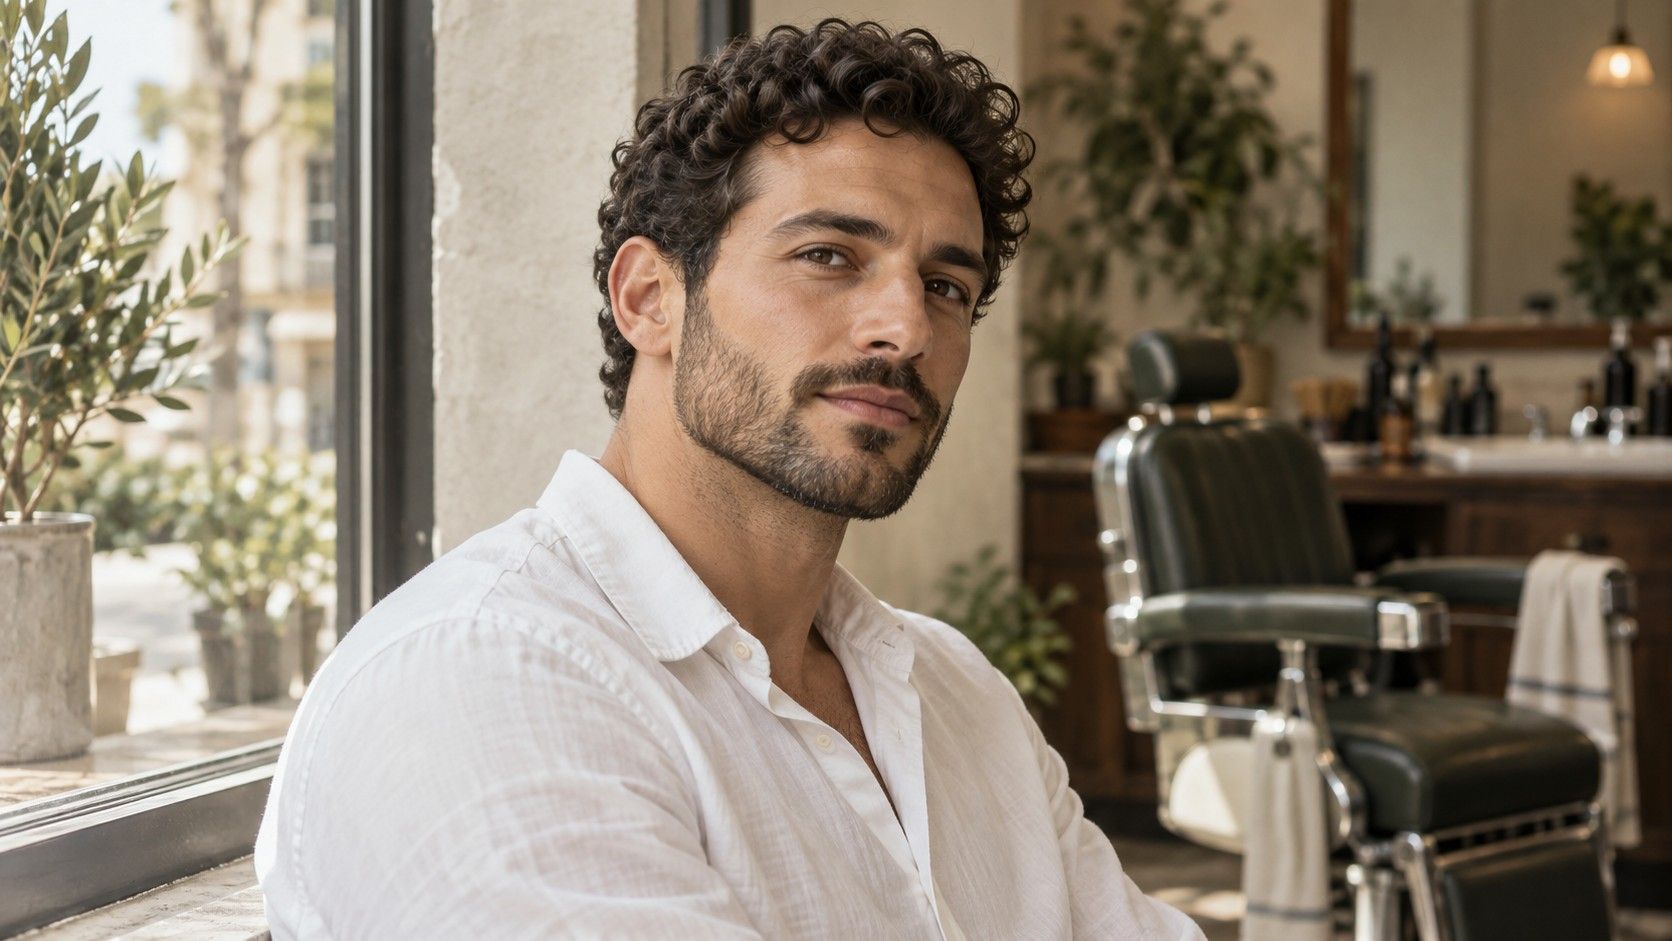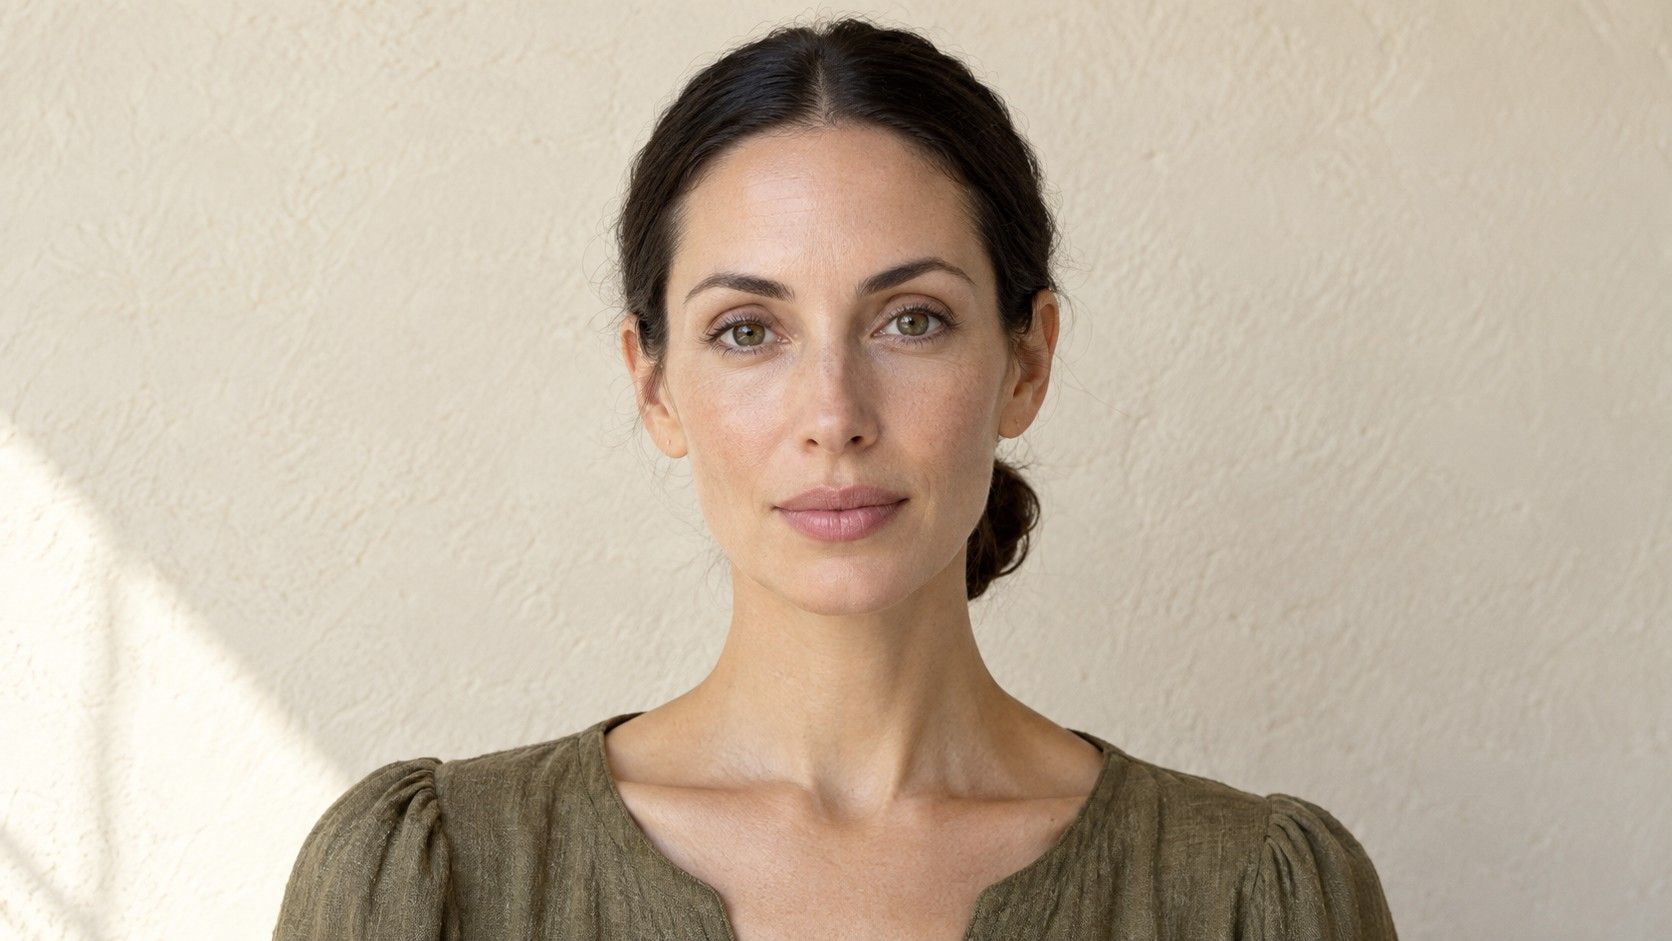
A face can look oval with the hair pulled back and almost round under a heavy fringe. That does not mean either view is wrong; it means hair, angle and expression are part of what you see. I would treat an oval face shape as a rough description of the visible outline, useful when comparing a haircut or a pair of frames. Start with a calm, front-facing view and look at the whole shape before reaching for a ruler. The aim is a description you can use, without turning your reflection into a test.
Read length alongside width before naming the shape
Look from the central hairline to the bottom of the chin, then across the broadest part of the cheeks. An oval outline usually reads as longer than it is wide, with a smooth transition between the upper and lower face. That is a visual relationship, not a fixed numerical rule. Online diagrams often look more decisive because their lines have been simplified; a real face has eyebrows, shadows and small differences between its two sides.
Use a mirror at eye level with your head upright. If you use a photograph, step back from the camera and avoid a close selfie taken from above. A raised camera can make the forehead seem larger and the chin smaller. Keep your mouth relaxed, since a broad smile changes the apparent width of the cheeks. Compare two ordinary front views before drawing a conclusion from one flattering or unflattering image.
If the outline seems clearly taller than wide but also very narrow through the cheeks, keep an oblong description in mind. If length and width seem similar, compare round as well. The question is whether the overall outline reads as gently elongated. A few millimetres on a photo do not provide a more reliable answer when the camera position is uncertain.
Find the cheekbone outline without mistaking a shadow for an edge
In many oval faces, the cheekbone area appears among the widest parts of the face. Follow the actual outer boundary rather than the dark patch beneath a cheekbone. Contour makeup, side lighting and a lock of hair can all create an apparent edge inside the true outline. Soft daylight facing a window makes this check easier than a bathroom spotlight directly overhead.
With hair held away from the sides, compare the cheek area with the forehead and jaw. You are looking for a gradual narrowing toward the chin, rather than a sharp change at one level. Your forehead may still be fairly broad; oval does not mean every width must differ in a precise order. Notice whether both sides give you roughly the same impression and leave ordinary asymmetry alone.
Full cheeks can sit within a longer oval outline. Equally, visible cheekbones do not automatically make a face diamond-shaped. The location of fullness and the outer boundary answer different questions. When they seem to disagree, make a simple note such as “longer outline, soft cheeks” instead of forcing one feature to explain everything.
Trace the jaw and chin as a continuous curve
Move your attention from just below the ears down to the chin. Typical oval face characteristics include a jaw that narrows gently and a chin that completes the outline without a very abrupt point or a broad, flat lower edge. “Gently” matters more here than “perfectly curved.” A jaw corner can be visible and the overall impression can still be oval.
A beard, high collar or deep shadow may hide the lower boundary. Check a clear view before deciding that a dark beard line is the shape of the jaw. If you wear facial hair and intend to keep it, you can also record the outline it creates. That visible shape is relevant to styling, even though it is a separate layer from the face underneath.
Do not confuse a small chin with an oval face. A narrow chin combined with a much broader forehead may suggest another description, while a rounded chin can occur in several outlines. Read the lower face together with length and cheekbone width. One striking detail is easy to notice, but the relationship between details is what makes the label useful.
Separate hair from the face you are trying to describe
A fringe hides the upper boundary, a centre part adds two vertical lines, and curls at cheek level add visible width. None of those changes needs correcting. For the identification check, hold the hair back gently enough to see the hairline and sides. Then let it fall normally and look again. You now have two useful observations: the facial outline and the everyday silhouette.
A high or uneven hairline can make the length check uncertain. Avoid inventing a lower hairline or measuring to the top of a hairstyle. Note that the upper boundary is difficult to place and give the cheek-to-jaw transition more attention. If a close crop, head covering or fringe is part of your daily look, assess styling options with that look in place as well.
This is where rigid face-shape advice often loses its value. A haircut is seen with its volume, parting and movement, not on a bare outline drawing. A smooth oval description may explain your starting proportions, yet the amount of hair beside the jaw can matter more when choosing between two cuts.
Recognize mixed features without searching for a perfect match
You might have a longer outline, a fairly straight jaw and cheeks that look full when you smile. “Oval with a stronger jaw” is a usable description. There is no need to erase the jaw detail or select a category from a chart that only partly resembles you. Face-shape categories are informal styling language, and their boundaries are not standardized.
| What you notice | A useful way to record it | What to check next |
|---|---|---|
| Length exceeds width, sides narrow smoothly | Mostly oval outline | Confirm in a relaxed front view |
| Longer outline with soft, full cheeks | Oval outline with cheek fullness | Compare the boundary rather than cheek shadows |
| Length and width look close | Between oval and round | Repeat with the same head and camera position |
| Long outline with little taper | Compare oval and oblong | Look at forehead, cheek and jaw widths together |
Use the table as a record of observations rather than a scoring system. If the result changes between photographs, inspect the photographs first: a tilted head, short camera distance or wide smile can account for the difference. Repeatedly measuring the same distorted image only gives a more precise description of that image.
Use the label when it helps a practical choice
Bring the description to a haircut consultation alongside two or three reference pictures. Say what you like about each picture: an exposed jaw, a soft fringe, width around the cheeks or less height at the crown. Hair texture, density, growth direction and the time you want to spend styling deserve a place in that conversation. An oval label cannot tell a stylist how your fringe will dry.
For glasses, start with bridge contact, temple pressure, lens position and whether the frame moves when you look down. Then compare the visual effect of a rounded or angular frame. A shape that you enjoy still needs to fit. Earrings offer a similar distinction: length changes the visible line beside the face, while weight and the fastening affect whether you will actually wear them.
Keep a short description, perhaps “longer than wide, broadest near the cheeks, gently narrowing jaw,” and stop there. You can prefer extra width, extra length or a strong contrast without trying to balance anything. The useful outcome is an easier choice in front of a mirror, not a final verdict about which face shape you ought to have.