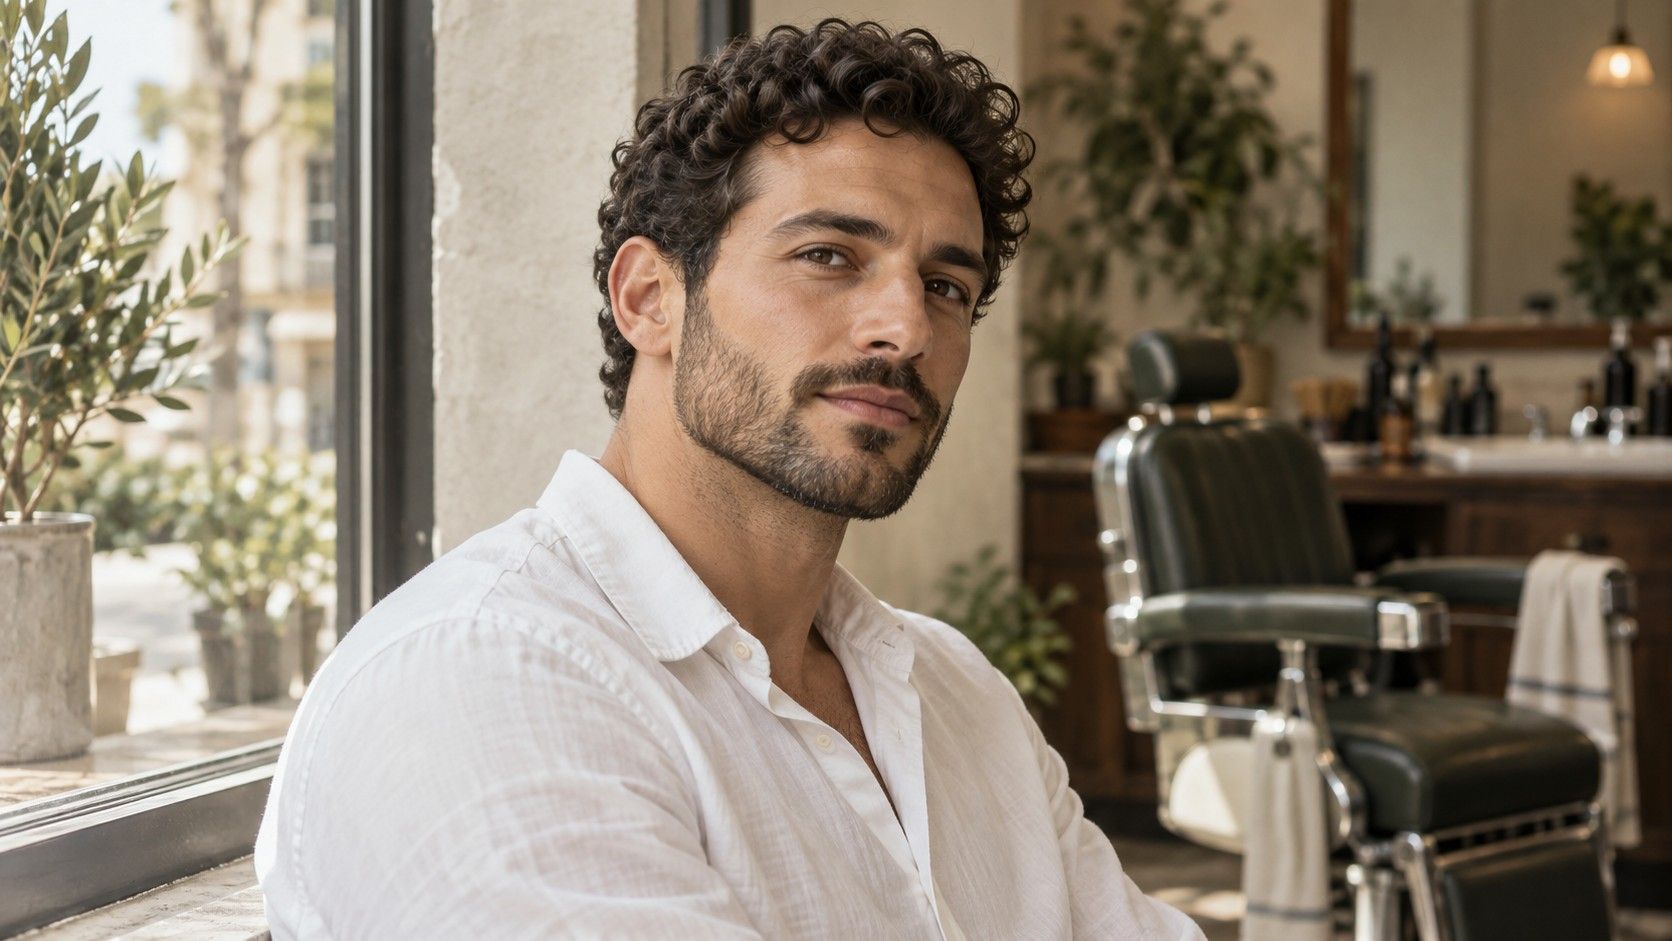
A ruler can help you compare the length and width of your face, but it cannot supply a definitive style label. The useful part is making a consistent reference and noticing the outline around the numbers. Here is a practical way to measure and record an oval-looking face without chasing an exact ratio or turning small differences into a verdict.
Make a repeatable reference
Oval face measurements are most useful when they let you compare the same features consistently. Start with your hair away from the outline, a relaxed expression and a level head. Stand in even light and take a front-facing photograph with the camera near eye level. Leave some distance between your face and the lens. A close selfie and a distant portrait are poor partners for a measurement comparison.
Choose either a flat photograph or a simple visual comparison in the mirror for your first attempt. Mixing a curved tape measurement over the skin with straight distances on a screen gives you numbers that do not describe the same thing. For a home styling reference, distances marked on one unaltered portrait are easier to repeat. Their purpose is comparison within that picture, not a claim of precise real-world size.
Keep the original photograph before adding marks. Include your entire hairline and chin, and avoid filters that reshape the face. If you wear glasses, take the reference without them so the frame does not hide the temple or cheek area. Put the glasses back on when you later assess their fit. The measurement picture and the everyday styling picture serve different purposes.
Locate forehead and cheekbone width
On your reference portrait, look for the visible width of the forehead between the temples. Choose a horizontal level that you can find again, rather than moving the line up and down until it supports a preferred result. Hairline corners may be hidden by fine hair or a side part. If the endpoints are uncertain, record that uncertainty instead of pretending the line is exact.
Next compare the cheek area at its broadest visible points. Keep the line level and avoid following the curve across the nose. In a photograph, you are checking the projected outline from side to side. A shadow can suggest a cheek hollow that is not the outer boundary; use the silhouette against the background rather than the darkest patch on your cheek.
The forehead and cheek widths may be close enough that a small change in the endpoints reverses their order. That is useful information: it means this comparison is not a strong distinguishing feature for you. Note “forehead and cheeks look similar in width.” A soft oval impression can come from the combined outline without the cheekbones winning every measurement.
Compare jaw and face length
For a simple frontal comparison, mark the outer jaw area on both sides at the same general level. Do not wrap a tape from one corner around the chin and compare that curved distance with a straight cheek-width line. Some online methods do exactly that, which is one reason their results can conflict. Choose a method, describe it and keep its limits visible in your notes.
Mark a central length from the visible hairline to the bottom of the chin in the photograph. A rounded or uneven hairline makes the starting point less certain. A beard can hide the end of the chin and widen the apparent jaw, so distinguish the outline of facial hair from the underlying face where you can. You can still make a useful styling record without locating every boundary precisely.
Now step back from the marks. Does the face read as longer than wide? Do the cheeks lead into a gradual taper, or do the lower sides look relatively straight? The measurements should help you notice those relationships. They should not overrule an obvious problem with the picture, such as a tilted head, a cropped hairline or a chin partly covered by a collar.
Treat ratios as rough descriptions
If you divide the length by the width, you get a summary of two chosen lines. You do not get a universal face-shape verdict. Different measurement guides choose different width points, use different hairline conventions and draw their category boundaries differently. Adding decimal places makes the result look more confident without resolving those choices.
When asking “how to know if I have an oval face,” combine the rough measurements with the contour. An oval description commonly fits a face that appears longer than wide, with soft transitions and some narrowing toward the chin. You may also see features associated with another category. A long outline with a rounded jaw can be described more clearly in those words than forced into a rigid numerical bracket.
Use the comparison table as a record of observations, not a scoring sheet. There is no requirement to collect a certain number of oval features. Its value is showing which details are clear enough to guide a haircut or frame discussion, and which ones depend on how the picture was taken.
| Observation | Useful note | Limit to record |
|---|---|---|
| Forehead and cheeks | Similar width or one visibly broader | Hairline endpoints may be unclear |
| Jaw outline | Soft taper, straighter sides or mixed contours | Facial hair can hide the boundary |
| Face length | Appears longer than the widest area | Camera angle changes the projection |
Resolve inconsistent readings
If two attempts disagree, check the setup before measuring a third time. Look for a different head angle, camera distance, hair arrangement or expression. Compare the actual endpoints you marked. A forehead line placed lower in one picture and higher in another can change the apparent relationship to the cheeks without anything about the face having changed.
Repeat the uncertain line once on the same photograph, then compare with a fresh portrait taken in similar conditions. If the difference remains small, keep a range or a qualitative description. “Cheeks slightly wider or about the same” is more honest and more useful than selecting whichever number produces your preferred label. Ordinary asymmetry also means the two sides may not offer perfectly matching landmarks.
It is reasonable to stop when you have a stable broad description. Home measurements have limited value if you keep adjusting the endpoints in search of certainty. If the practical goal is glasses, try frames and check their contact points. If the goal is a haircut, show a stylist your natural hair and preferred silhouette. Those direct observations can answer questions a face-shape calculation leaves open.
Keep a useful record for a consultation
Save one clear portrait with a date and a few short notes: approximate relative length, widest visible area, jaw contour and any uncertain endpoints. Include an unmarked copy so the person reading it can see the face rather than just the lines. You do not need to send a collection of precise-looking measurements unless the professional has asked for a particular method.
Add your real constraints alongside the outline. For hair, those might include natural curl, where the part settles, how often you style it and whether you want to keep it off your forehead. For glasses, note sliding, pressure behind the ears or contact with the cheeks. These concerns relate to actual fit and maintenance; face shape mainly contributes to the appearance discussion.
A useful final note might read: “Longer than wide, cheeks and forehead similar, jaw softly tapered; I want a cut that dries without much crown height.” That is enough to begin a focused conversation. Measure again if a new choice calls for it, rather than making the label a permanent project. The best record is the one that helps you explain what you see and what you want to change.