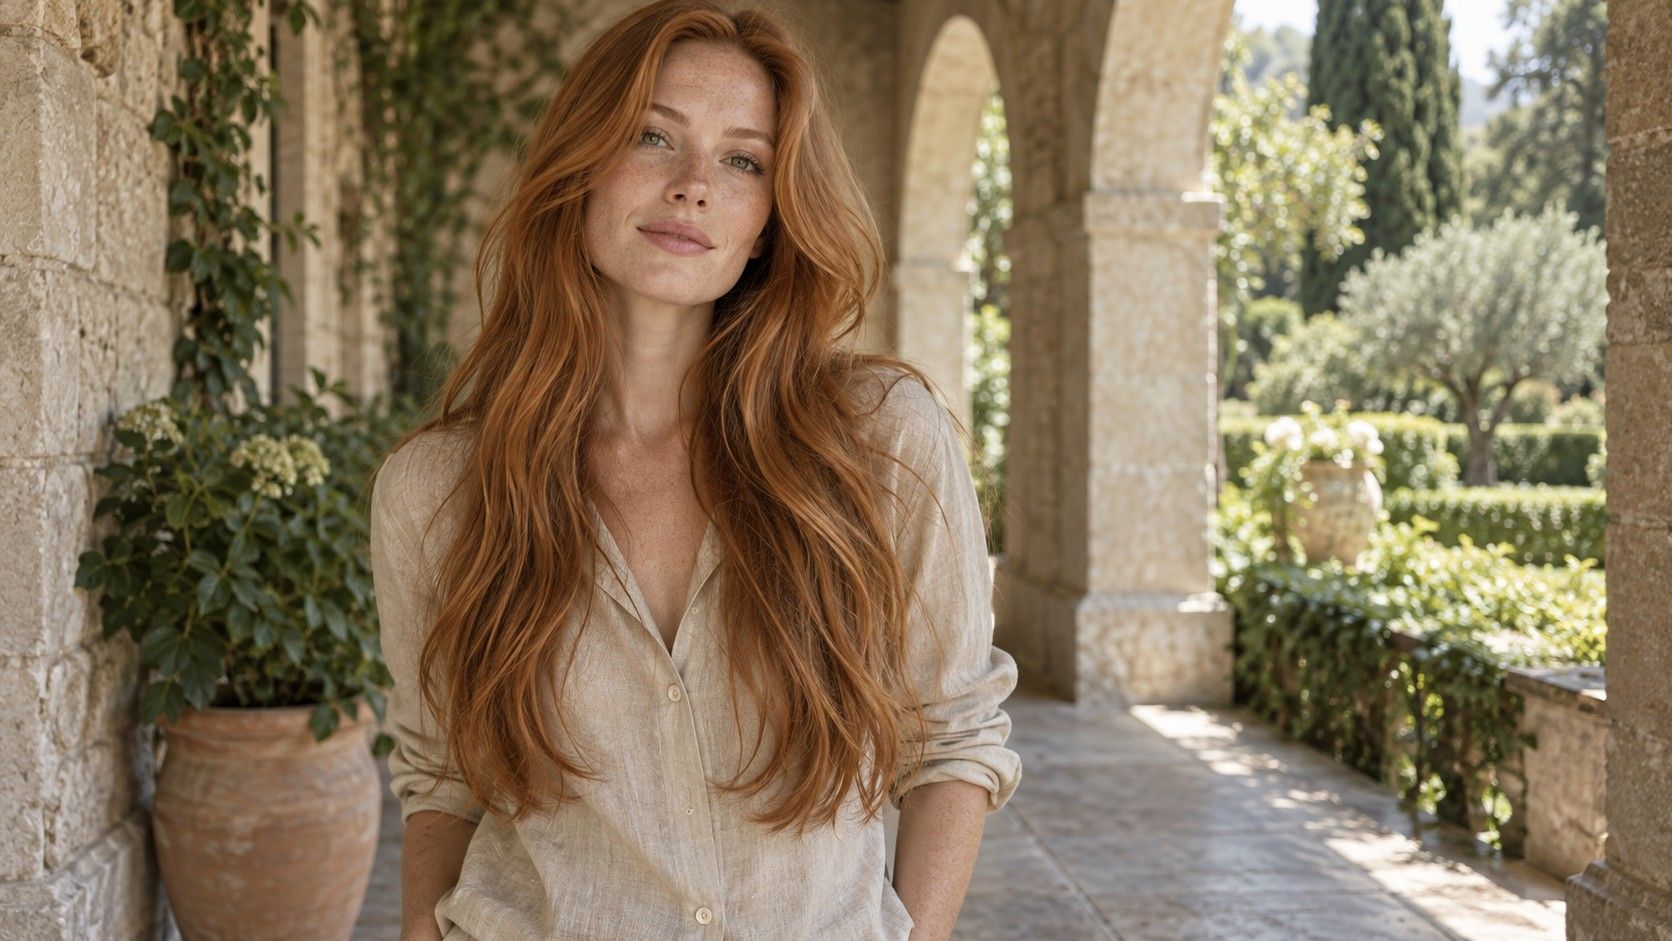
Long hair changes the outline around an oval face through where it falls, where it opens and how much weight sits at the ends. The total length is only one part of the picture. I would begin with an ordinary day: hair loose for part of the morning, behind the ears at a desk, then tied back later. A useful cut has to handle those changes. Before asking for layers, decide which pieces you want near your cheeks, which must reach a ponytail and how much styling you enjoy.
Choose where the outline opens beside your face
Stand in front of a mirror with your hair in its usual dry state. Let it fall forward, then move it behind one ear and finally behind both. Notice how those simple changes reveal the jaw and cheekbones. Long hair can create two strong vertical edges, but it can also open outward at the cheeks or shoulders. None of those effects needs to correct an oval face shape.
Decide whether you prefer an open cheek area or hair close to it. If a reference picture shows a large swept-back wave, check whether you like the haircut itself or the temporary styling that exposes the face. A similar length with a flat front section may look quite different. Save one image showing the cut in a relaxed state alongside the styled reference.
Look at shoulder and collarbone level too. A heavy scarf, jacket collar or the way the ends rest on your shoulders can push the hair forward. That everyday contact may matter more to you than a slightly different overall length. Try the loose outline with the clothes you wear most often before deciding where you want movement.
Place the first face-framing layer where it has a job
The shortest front piece determines where the frame begins. A piece near the cheekbone creates a different interruption from one beginning below the jaw. Rather than requesting “layers for oval face” and leaving the placement open, point to the place where you want the hair to bend, separate or leave the face clear. Describe the visual effect you enjoy.
Then check the practical cost of that position. Can the piece tuck behind your ear? Does it reach your usual ponytail, or will it fall forward when you look down? A short front layer may be attractive loose and annoying while cooking or working. You can choose it anyway, provided you have made that choice knowingly.
Ask how the front will connect to the length behind it. A few long framing pieces and extensive layers throughout the head are different requests. The first changes the view around the face; the second also redistributes weight through the whole haircut. Bring a side-view reference if you want to preserve a solid perimeter and avoid losing more fullness than intended.
| Your everyday aim | Placement to discuss | Check before cutting |
|---|---|---|
| Keep the front inside a ponytail | Longer framing pieces | Gather your hair at the height you actually use |
| Show movement beside the cheeks | A shorter front starting point | See how it falls when unstyled |
| Keep a full-looking lower edge | Limited layering with a retained perimeter | Review the back and side views |
| Reduce bulk through the length | Weight removal suited to the hair | Discuss dry texture and the tied-back result |
Compare centre and side parts before changing the cut
A centre part divides the frame into two relatively even lines. A side part moves more hair to one side and can expose a different section of the forehead. Neither is an automatic rule for an oval outline. Try both while keeping the rest of the styling similar, so you can judge the part instead of comparing a polished wave with unbrushed hair.
Your growth direction may support one placement more easily. Move the part when the roots are damp and see how they dry; simply dragging dry hair across can create a raised section that says little about the eventual result. If the part repeatedly opens in its old place, explain that to your stylist before choosing layers designed around a new one.
A slightly off-centre part is another option when you like an open forehead without a very even split. Take quick photographs at eye level, then look at them alongside your mirror view. Keep the option you enjoy rather than using the pictures to search for a more acceptable face shape. You can also change partings occasionally if the cut allows it.
Keep the ends appropriate for your hair's density
Long hair with fine or sparse-looking ends may feel different after extensive layering. Removing weight can add movement, yet it also changes how much hair reaches the lower edge. Ask to see how much length will remain in the longest section and how substantial the perimeter will look. A front-facing reference alone rarely answers that question.
Thicker hair may need weight distributed differently, especially if the lower half forms a broad block. Discuss where that bulk bothers you: at the shoulders, behind the ears or in a ponytail. “Make it lighter” can mean different things. A stylist can explain the proposed technique and what it is expected to change in the dry shape.
Hold the ends forward against a plain top and inspect them without pulling tight. Do they hang in the shape you like? Do you want a straighter edge, a softer curve or a more tapered finish? The answer is a haircut preference, not a conclusion supplied by an oval face label. Ask to review the back with a second mirror before the final finish hides the outline in waves.
Style waves at the level where you want movement
A wave that opens near the cheeks gives a different silhouette from one that begins below the jaw. If you want movement beside the face, discuss that bend point when choosing the front layers. A long piece may need styling to turn outward where the reference shows it. The photograph does not tell you how many tools or clips were involved.
Volume at the roots is optional. If you enjoy a taller crown, there is no face-shape reason to avoid it. If you prefer more movement at the sides, keep the root finish quieter and compare. Try changing one area at a time; adding height, curls and a new part simultaneously makes it difficult to tell what you liked.
Natural waves and curls may settle at different lengths after drying. Bring a reference of your own hair fully dry, including the sections that behave differently at the front. Discuss how the cut will look with your normal product and drying method. A smooth blow-dry can be an occasional choice, but it should not be the only view used to approve a haircut you will usually wear textured.
Make an everyday plan for loose and tied-back hair
Tell the stylist where you tie your hair: low at the neck, at the middle of the head, or high on the crown. Gather it at that position during the consultation. The same front section can reach one ponytail and escape another. If a secure tied-back style matters for work or exercise, make that requirement clear before agreeing to the shortest layer.
Consider the loose pieces you actually want. A few soft strands beside the face can be deliberate; constantly retrieving them from your mouth is a different experience. Ask which pieces will fall out and whether a clip or pin will hold them comfortably. You do not need to accept a reference picture's loose tendrils if they would interrupt your day.
Choose a manageable loose-hair routine too. That may mean air-drying, brushing the front with a dryer, or styling a few sections rather than every strand. Ask for a demonstration and repeat the key movement yourself if possible. A cut that relies on a technique you dislike is unlikely to become easier because it was recommended for an oval face.
Leave with a clear description: the shortest front point, the amount of layering, the intended part and the edge you want to keep. Those details make the next appointment easier and help you notice what you would change. Long hair for an oval face can be sleek, full, softly waved or usually tied back. The useful version is the one that behaves well in your own routine.